
From boat buffers to battery planning, here are three field-tested moves that keep a remote Arctic island aurora trip from turning into a cold, expensive wait.
Build a Two-Day Buffer Into the Boat or Flight Plan
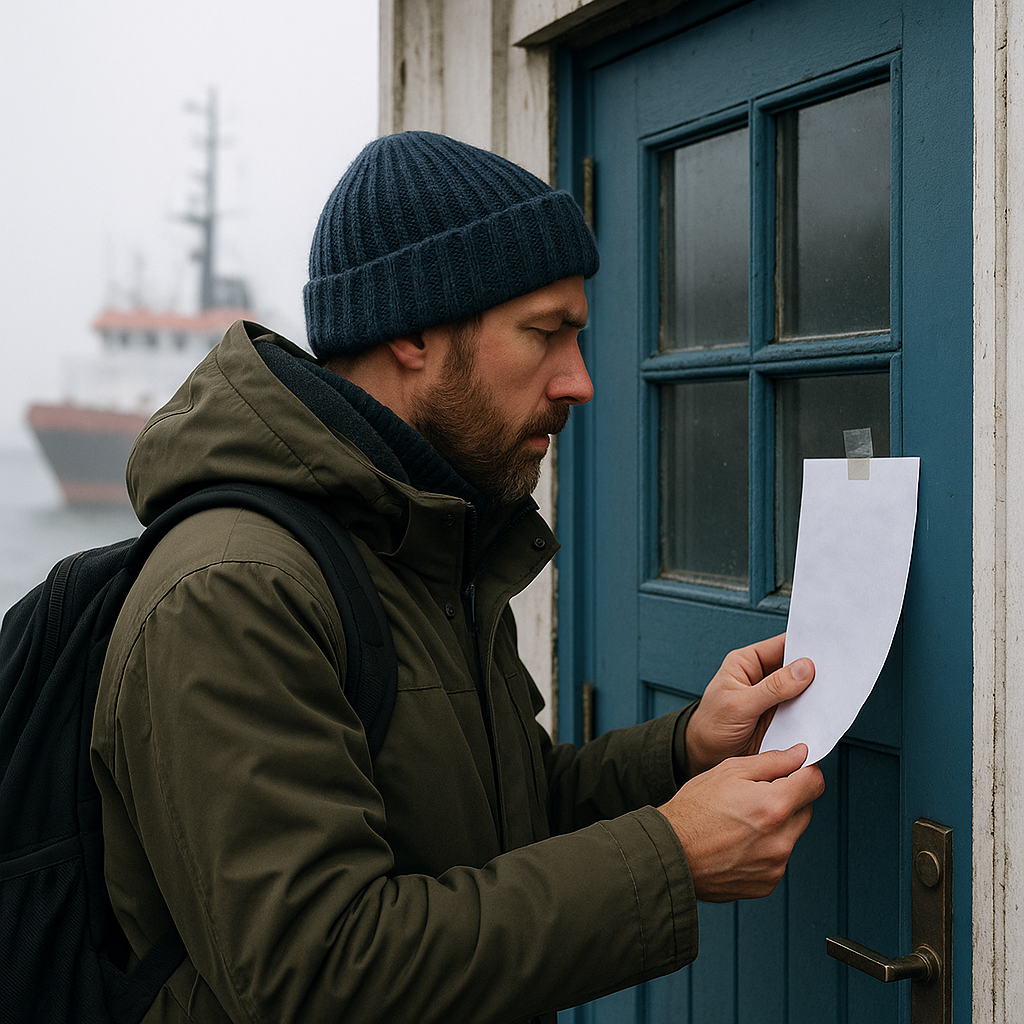
If you've ever stared at a harbor office door with a handwritten cancellation note flapping in the wind, you already know why the buffer matters. On remote Arctic islands, weather can disrupt the boat or flight connections you need to reach your base. A delayed crossing can cost you a night of aurora viewing. I plan these trips like I'm trying to protect three things: my aurora nights, my sanity, and my wallet.
Here's the move that changes everything without relying on luck: I build extra time around the crossing rather than relying on a same-day connection. That means if the island hop is by ferry or local boat, I arrive in the gateway town early enough that a weather day doesn't steal my first clear night. If the route depends on a small airport or infrequent service, I use the same approach. Book the island transfer with enough flexibility that a weather delay does not wipe out your only night on the island.
Practically, I write the itinerary in blocks: (1) gateway town nights, (2) island nights, (3) a final night back near the main airport. I also try to spend my final night near the airport for an early international connection, rather than relying on a same-day transfer from the island. Yes, the buffer adds cost. But it also lets you say yes to the only thing that matters up there: a sudden, clear window at 1:00 a.m. when the wind finally drops, and the sky snaps open.
One more detail people skip: I ask, before I book, where cancellations get announced. Some operators post on Facebook first, some text, some only update a paper list at the dock. Knowing that saves you from camping out in the wrong place, burning daylight, and hand warmth for no reason.
Pack Extra Batteries
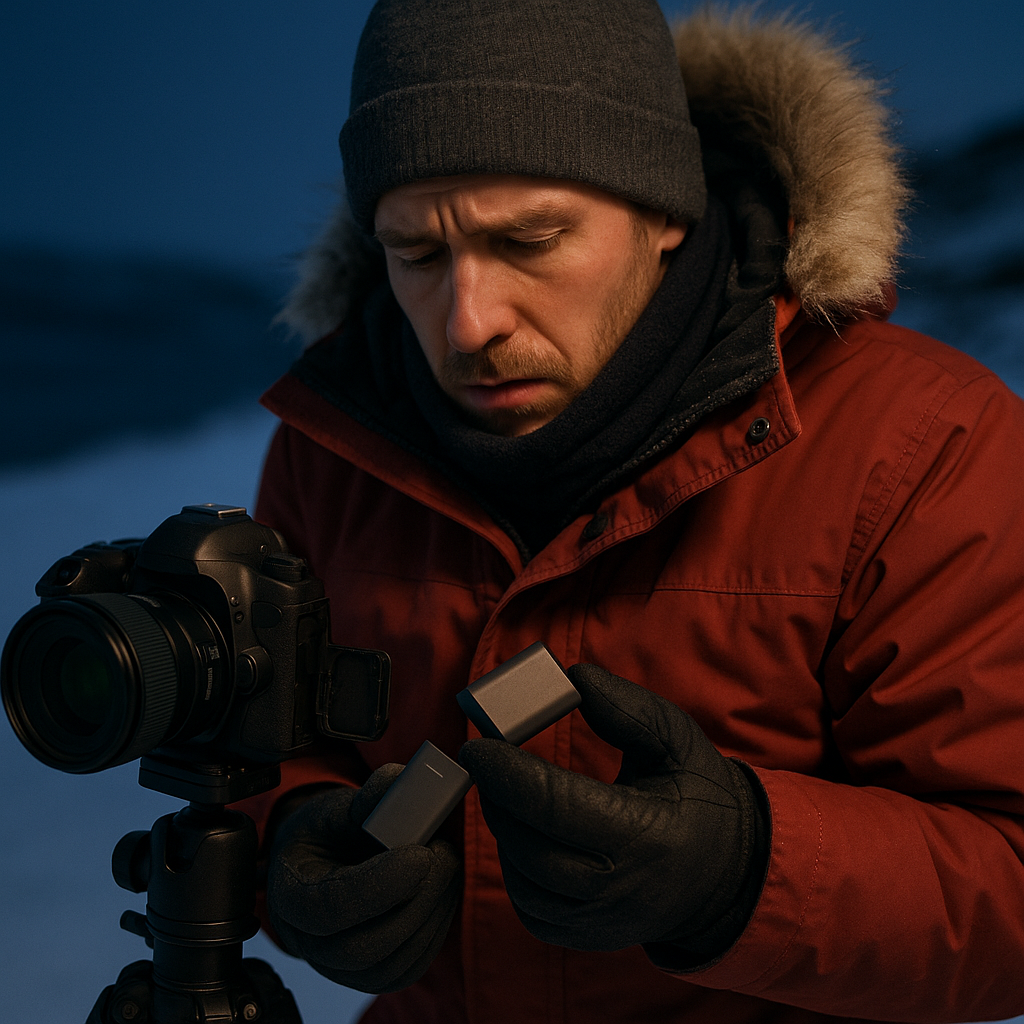
The first time I tried to shoot lights on an exposed island ridge, my camera died so fast it felt personal. Cold temperatures can reduce battery performance, so a fully charged battery may not last as long as it normally would.
So now I plan my island nights around battery logistics the same way I plan around wind. I bring several spare batteries rather than relying on a single charge, and I keep two of them on my body, not in my bag. An inside jacket pocket works. A chest pocket is even better because it stays warm and you can swap without taking your gloves off for long. I bring extra batteries and check my camera manufacturer's cold-weather recommendations before the trip.
I also stop pretending that a random no-name power bank is good enough in subzero temps. I look for a reputable brand and a model that can output the right USB-C PD wattage for my camera (if it supports it). I test it at home by running the exact setup: camera + intervalometer or in-camera interval shooting + headlamp use + phone in airplane mode. On remote islands, you'll often charge in short bursts: a generator window at the lodge, a single outlet in a common room, sometimes a power strip that becomes the social center of the building. A compact multi-port charger earns its keep there.
For shooting, I keep it simple and repeatable: sturdy tripod, a wide lens if I have one, and a remote release so I don't jab the camera with mittened hands. If the wind is strong, I use a sturdy tripod and keep the setup as low and stable as possible. And I always pack a microfiber cloth in a zip bag because sea spray and spindrift make a lens look fine until you review the images and see a soft halo on every bright band of green.
If you aren't taking photos, the same principle applies to other battery-powered devices: keep spare batteries or a charged power bank warm and use power-saving settings when possible.
Pick the Island Base Correctly
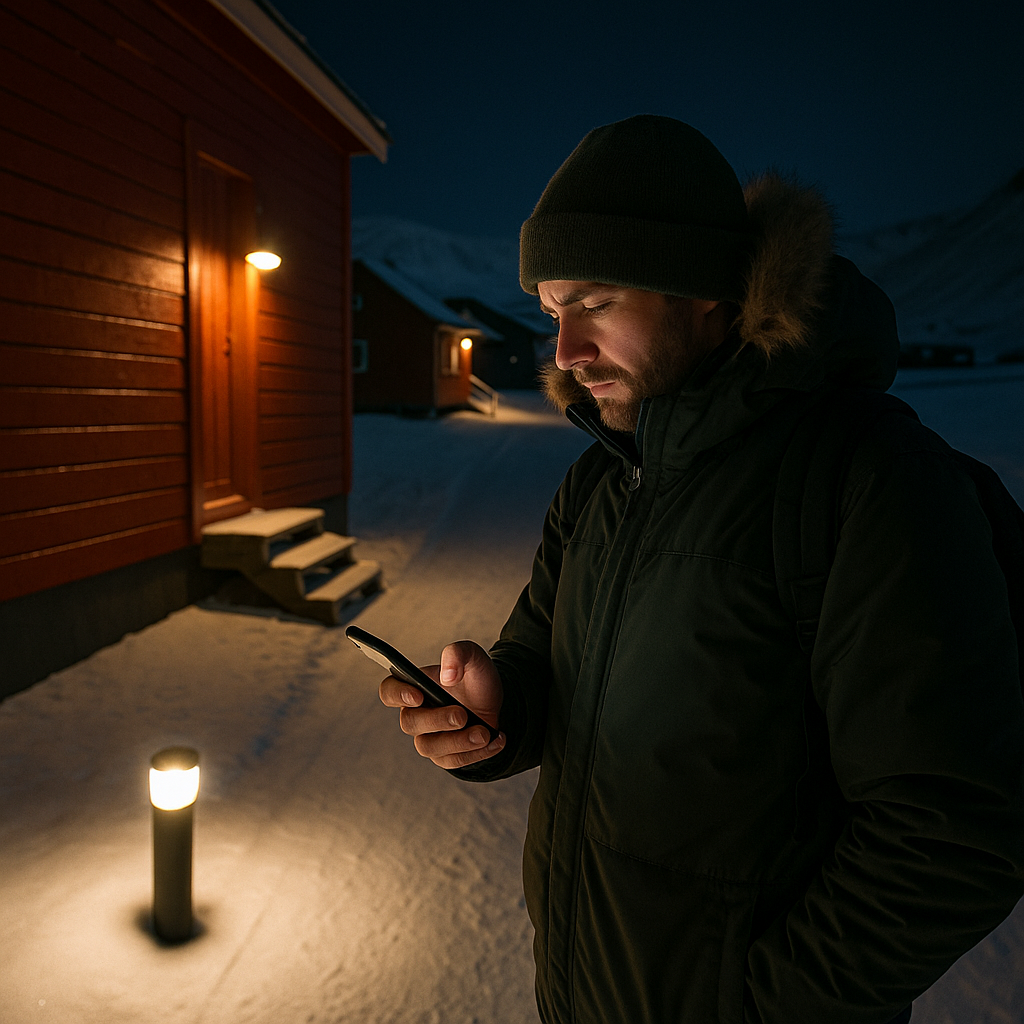
On a remote Arctic island, even a good aurora forecast can be undermined by nearby artificial light. I've stayed at places where the walkway LEDs are bright enough to land a plane, and they never turn off because somebody is worried about slipping on ice. Completely fair, but it changes where you should sleep.
When I'm choosing my base, I stop reading the amenities list after about thirty seconds and start hunting for three specifics that matter for aurora nights. First: Where is the building in relation to the settlement? If it's right in the little cluster of houses, you'll get porch lights, snowmobile headlights, and the occasional diesel generator glare. If it's away from the settlement's lights, the darker surroundings can make the aurora easier to see.
Second: What does the property do about night access? I ask if there's a designated dark viewing area and whether it's reachable without crossing the lit path. The best setups I've used had a simple solution: a marked track out to a wind-sheltered spot, with lighting that can be turned down or is motion-triggered and stays off unless someone is moving. Nobody is stumbling around, and the sky stays dark.
Third: Wind. Islands are wind machines. A good forecast is less useful if strong winds make it difficult or unsafe to stay outside. I look for natural shelter: a low ridge, a stand of scrub, even a storage building that blocks the prevailing direction. If the lodge can't describe a sheltered viewing area, I would ask how guests are expected to watch the aurora in strong winds.
Before heading out, I check both the aurora and cloud forecasts; strong aurora activity is useless if clouds block the sky. Once I'm there, I do a daylight scout like it's part of the trip. I find the dark corner, note where the snow drifts collect, and figure out the safest route back when I'm tired and it's pitch-black. Then at night, I can focus on the sky instead of picking my way around ice while someone else's floodlight cooks my night vision.